Introduction
Welcome to the world of projector cookie decorating! If you’re looking to add a touch of magic and creativity to your baking endeavors, you’ve come to the right place. In this comprehensive guide, we will explore the art of projector cookie decorating, a technique that allows you to bring your wildest cookie dreams to life. Whether you’re a professional baker or a passionate home baker, projector cookie decorating is a game-changer that will elevate your creations to new heights. Let’s dive in and discover the endless possibilities!
Projector Cookie Decorating: A World of Imagination
Projector cookie decorating is a fascinating technique that combines artistry with baking. By using a projector, you can transfer intricate designs onto your cookies, creating stunning and visually appealing treats. Whether you want to recreate intricate patterns, logos, or even portraits, a projector allows you to achieve unparalleled precision and detail. Let your imagination run wild as you embark on this delightful journey of edible art!
Getting Started: Essential Tools and Materials
Before you embark on your projector cookie decorating adventure, it’s important to gather the necessary tools and materials. Here’s a list of essentials to get you started:
1. Projector
Invest in a high-quality projector specifically designed for cookie decorating. Look for features such as adjustable brightness, focus, and the ability to project both horizontally and vertically.
2. Cookie Dough
Prepare your favorite cookie dough recipe or opt for store-bought dough projector. Ensure that the dough is properly chilled and rolled out to a consistent thickness for optimal results.
3. Parchment Paper
To prevent the dough from sticking to the projector surface, place a sheet of parchment paper between the dough and the projector.
4. Food-Safe Markers
These markers are specially formulated for use on edible surfaces projector. They come in a wide range of colors and allow you to add intricate details to your cookies.
5. Edible Paints and Brushes
For vibrant and colorful designs, invest in a set of edible paints and fine brushes projector. These will give your cookies a professional and polished look.
6. Royal Icing
Royal icing is an essential component of projector cookie decorating. It acts as both the canvas and the glue that holds the design in place. Prepare a batch of royal icing in various consistencies for different decorating techniques.
Tips and Techniques for Projector Cookie Decorating
Now that you have the necessary tools and materials, it’s time to explore some tips and techniques to enhance your projector cookie decorating skills. Let’s dive into the world of projector cookie decorating and uncover the secrets to creating edible masterpieces.
1. Choosing the Right Design
When selecting a design for your projector cookie decorating project, consider the level of intricacy and detail. Start with simple designs and gradually progress to more complex ones as you gain confidence and experience.
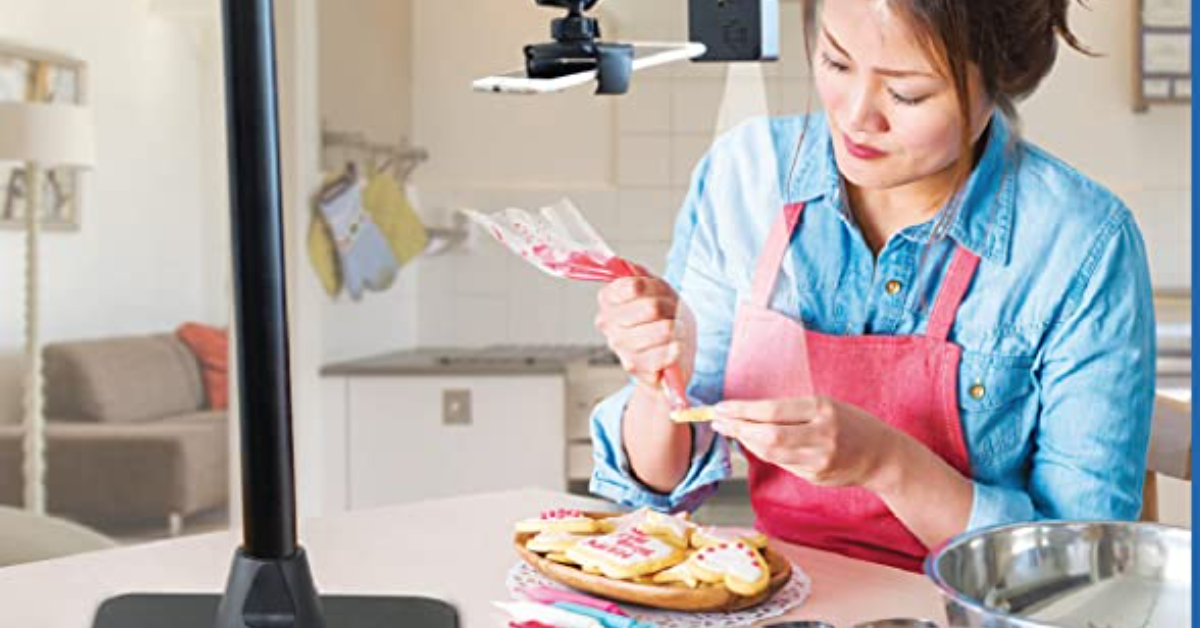
2. Preparing the Projector
Ensure that your projector is properly set up and calibrated before you begin. Adjust the brightness and focus settings to achieve a clear and sharp projection. Practice projecting on a flat surface to familiarize yourself with the projector’s functionality.
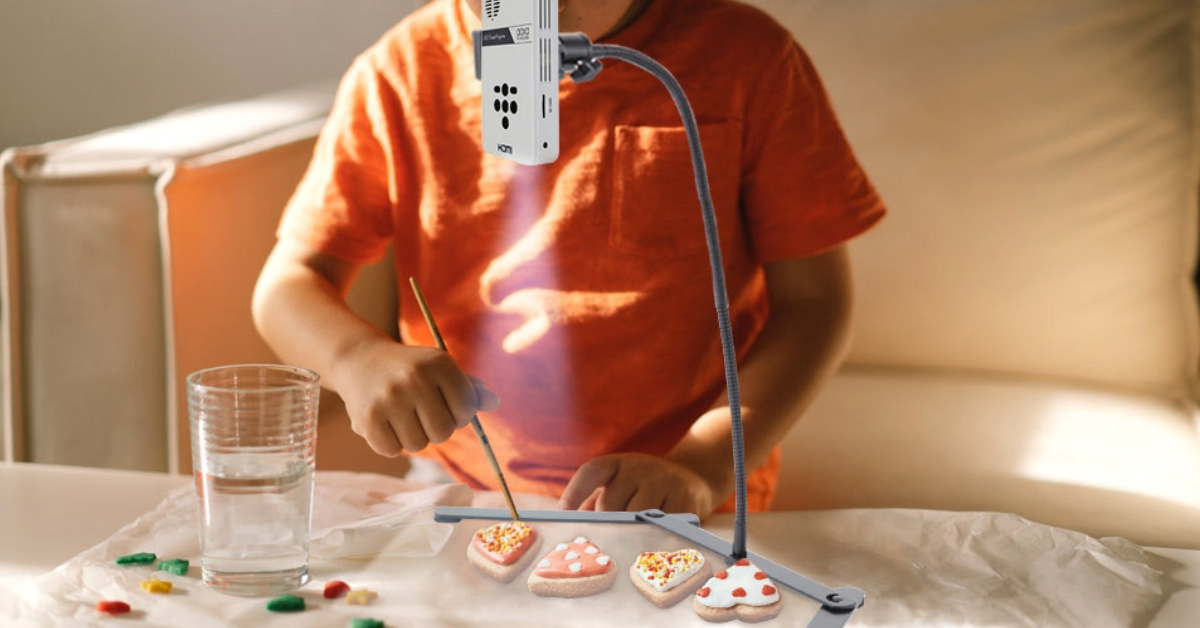
3. Tracing the Design
Place your prepared cookie dough on a flat surface and position the projector to project the desired design onto the cookie. Trace the projected image onto the dough using food-safe markers, ensuring accuracy and attention to detail.
4. Adding Color and Detail
Once the design is traced onto the cookie, it’s time to bring it to life projector. Use edible paints and fine brushes to add vibrant colors, shading, and intricate details to your cookie. Let your creativity shine as you transform a plain cookie into a work of art.
5. Drying and Storing
Allow your decorated cookies to dry completely before storing or packaging them. This will ensure that the designs remain intact and the colors stay vibrant. Once dry, store your cookies in an airtight container to maintain freshness.
Frequently Asked Questions (FAQs)
Q: Can I use any type of projector for cookie decorating?
These projectors offer features that enhance the accuracy and ease of the decorating process.
Q: Is projector cookie decorating suitable for beginners?
A: Absolutely! Projector cookie decorating is accessible to bakers of all skill levels. Start with simple designs and gradually progress to more complex ones as you build confidence and experience.
Q: Are the edible paints safe to consume?
A: Yes, edible paints are specifically formulated to be safe for consumption. Ensure that you use paints labeled as food-safe and follow the manufacturer’s instructions for usage.
Q: How long does it take for the designs to dry?
On average, it can take anywhere from a few hours to overnight for the designs to dry completely.
Q: Can projector cookie decorating be used for other baked goods?
Q: Where can I find design inspiration for projector cookie decorating?
A: The internet is a treasure trove of design inspiration for projector cookie decorating. Browse through baking blogs, social media platforms, and online galleries to discover a wide range of creative ideas.
Conclusion
Projector cookie decorating opens up a world of creativity and imagination, allowing you to transform ordinary cookies into edible works of art. With the right tools, techniques, and a dash of inspiration, you can create visually stunning treats that will leave a lasting impression. Embrace the magic of projector cookie decorating and let your inner artist shine. Happy decorating!

